All tips
- Boring portraits? Put the eyes on the upper line
- Dark, flat portraits indoors? Find the window
- Awkward crop? Don't cut at the joints
- Stiff smiles? Keep shooting after "done"
- Blurry photos indoors? Don't be afraid of ISO
- Blurry portrait? Focus on the nearest eye
- Shooting at noon? Find the edge of the shade
- Skin tone changes shot to shot? Lock the white balance
- Model feels awkward? Show her the best shot
- Never say "stand nicely." Give one action
- Cramped portrait? Leave room where they look
- Don't press "delete" on the camera
Boring portraits? Put the eyes on the upper line
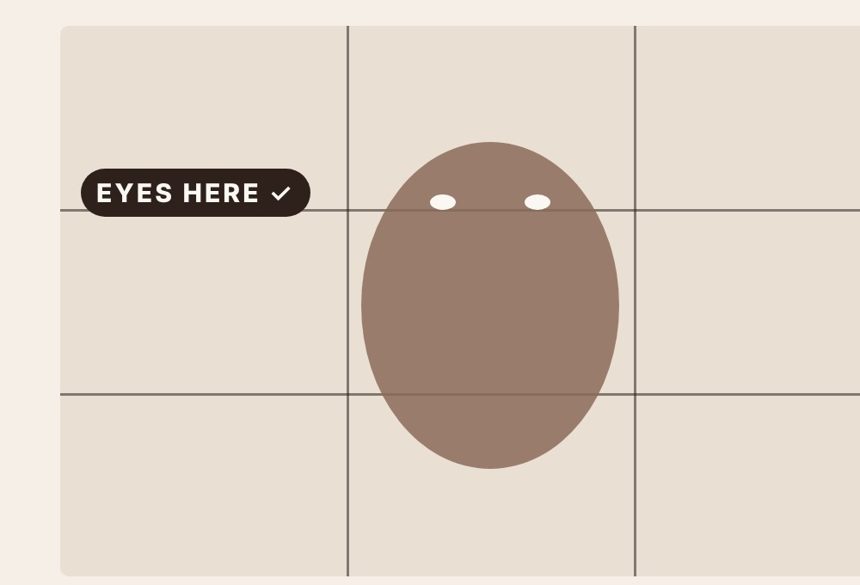
Turn on the grid in your camera or phone settings and use the rule of thirds: put the eyes on the upper line.
Take 3 portraits: eyes in the center, on the upper line, and your own choice. Which one do you like?
Dark, flat portraits indoors? Find the window
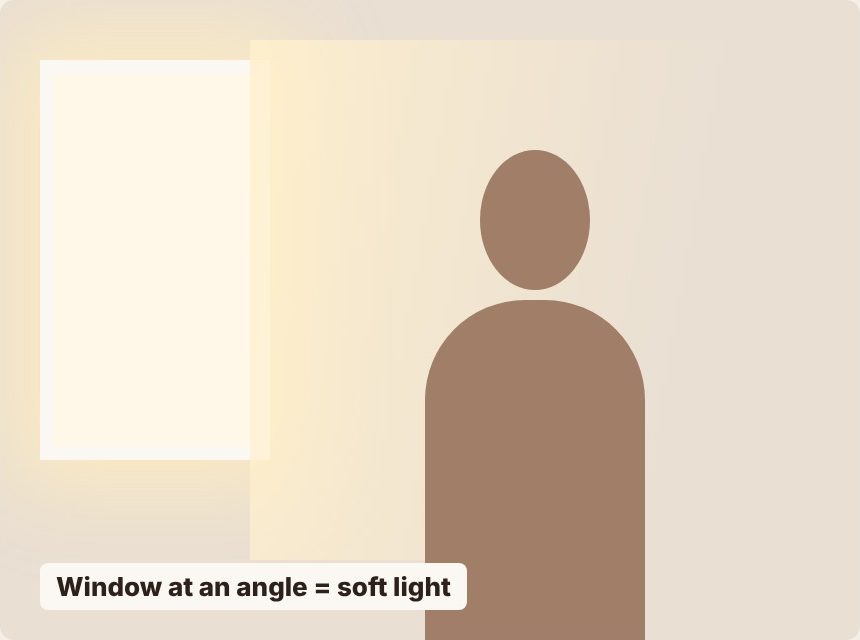
Put your model next to a window, at an angle. Soft light, no equipment.
One portrait by a window at 3 different angles.
Awkward crop? Don't cut at the joints
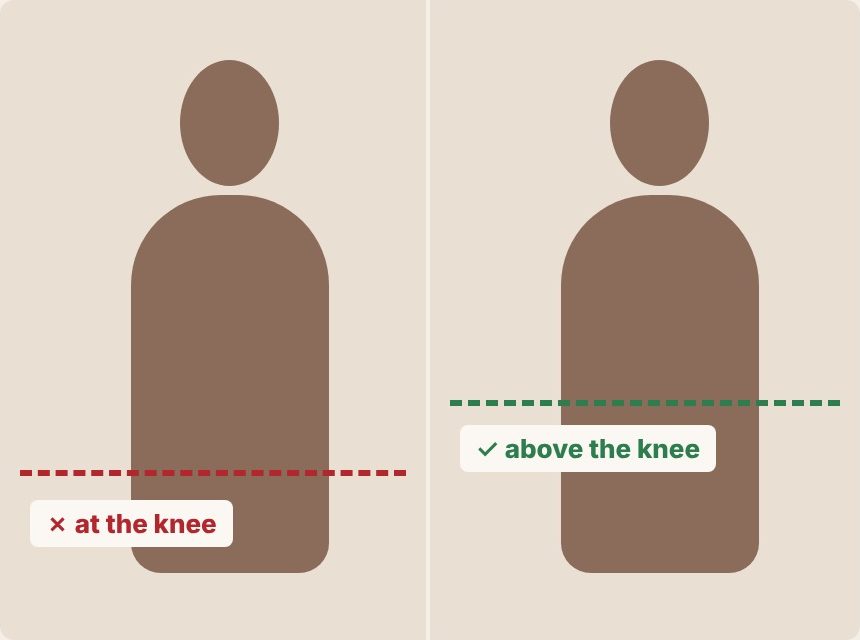
Crop above or below the knees, elbows and wrists, so the viewer can imagine the rest.
Look through your last 10 portraits. Any "cut" knees?
Stiff smiles? Keep shooting after "done"
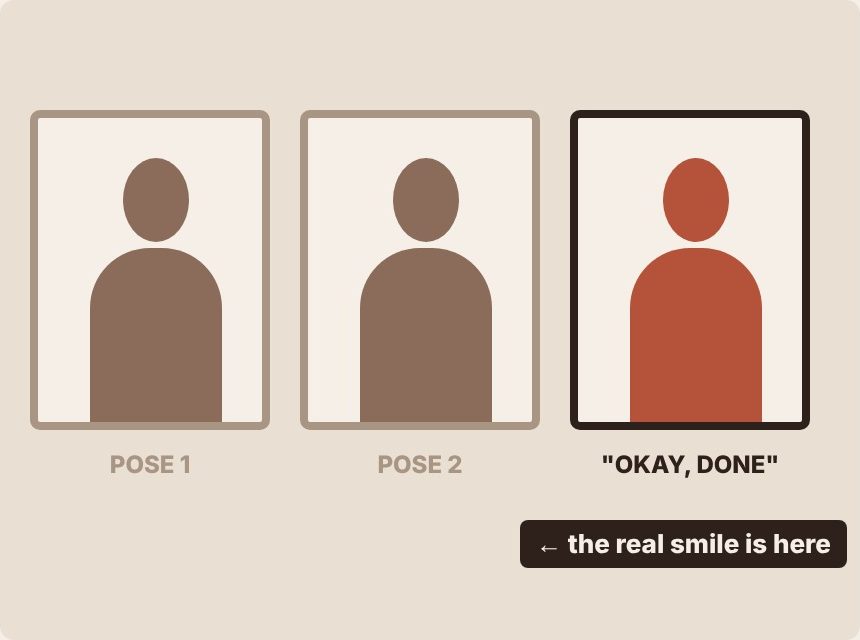
The best emotion often comes right after "okay, done." Keep shooting.
On your next shoot, take 5 frames after every pose.
Blurry photos indoors? Don't be afraid of ISO
Too dark? Change your settings in this order: first a shutter speed fast enough for the movement (with people, 1/250 s is safer), then open the aperture, and raise ISO last. A little grain is better than a blurry photo.
Indoors, take the same shot at 1/60 s and at 1/250 s with a higher ISO. Which one is sharp?
Blurry portrait? Focus on the nearest eye
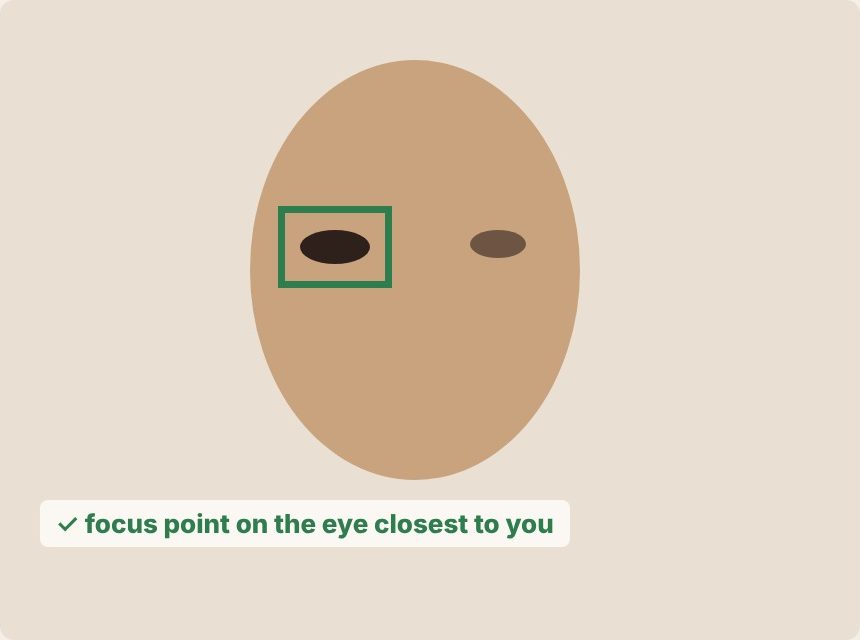
In a portrait, if the eyes are blurry, the photo usually doesn't work. Put your focus point on the eye closest to you, especially with a wide aperture like f/1.8–2.8.
Take 3 portraits at f/2–2.8: focus on the near eye, the far eye and the nose. Compare them on a big screen.
Shooting at noon? Find the edge of the shade
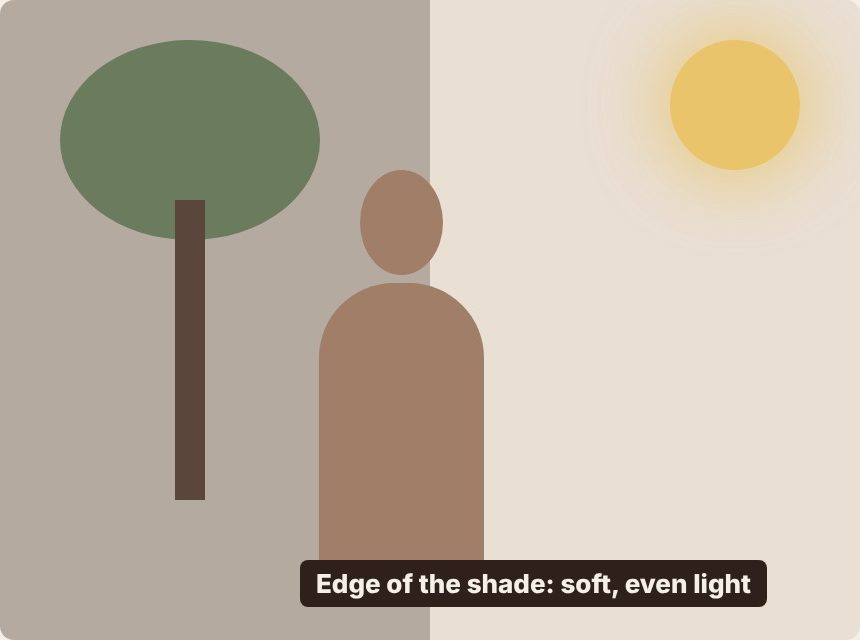
Direct midday sun gives hard shadows under the eyes and nose. Place your model at the edge of open shade, where she still "sees" the open sky, not deep under a tree. Check that no leafy spots of light fall on her face.
One portrait in direct sun, one at the edge of the shade. Look at the eyes and the skin.
Skin tone changes shot to shot? Lock the white balance
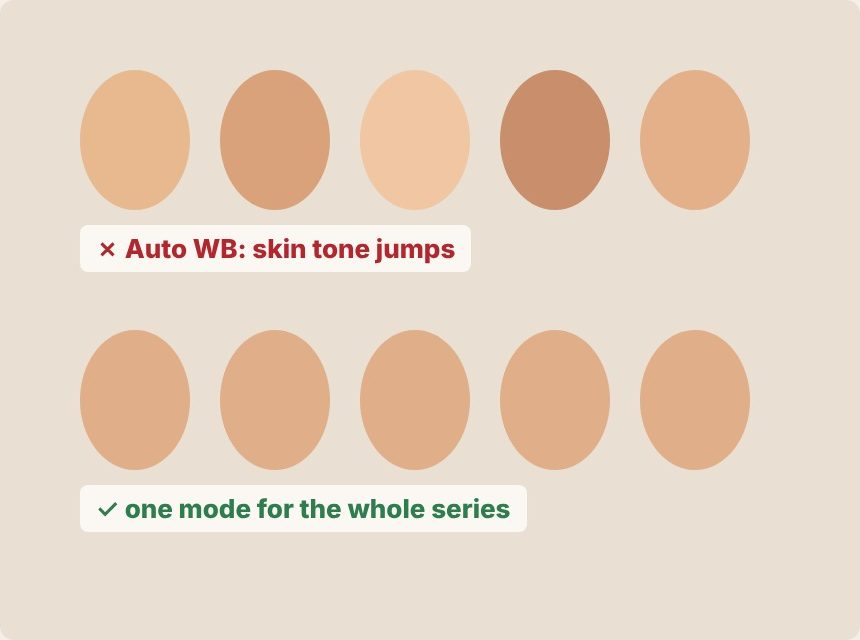
Auto white balance can change the skin tone from shot to shot. When you shoot a series in one place, choose one mode (Daylight, Cloudy or Shade) and keep it.
Take 5 shots on Auto WB and 5 with the mode locked. Put them side by side: where does the skin look the same?
Model feels awkward? Show her the best shot
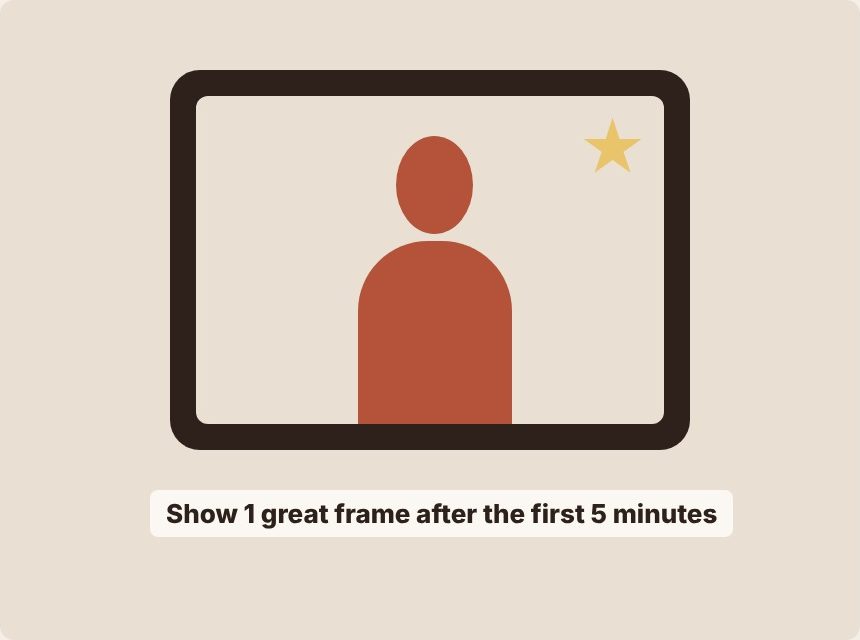
Your model can't see herself: you are her mirror. From time to time, show her one great shot on your screen. Her confidence grows instantly, and the next shots get even better. Never show the failed ones.
On your next shoot, show your model the best frame after the first 5 minutes. Watch what changes.
Never say "stand nicely." Give one action
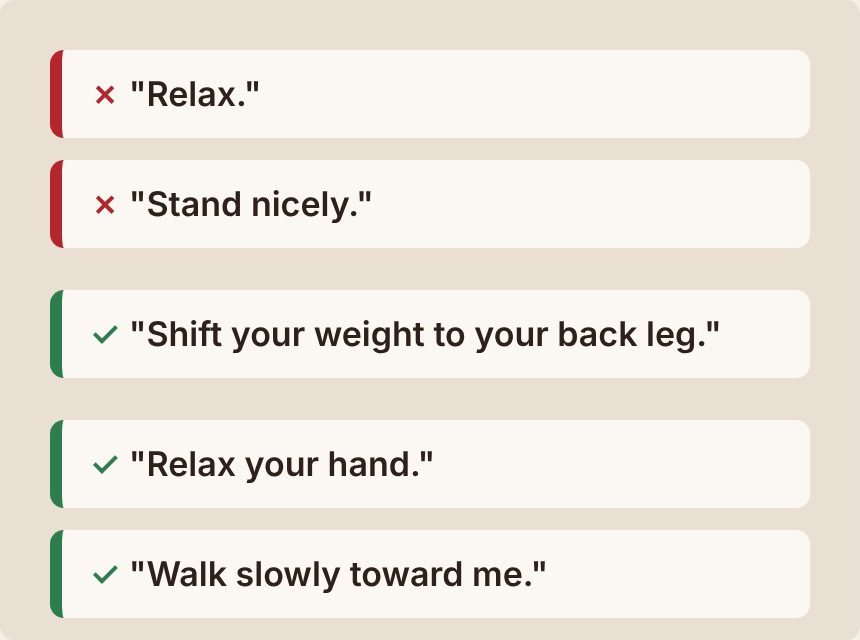
"Relax" and "stand nicely" mean nothing to someone who doesn't pose every day. Give one clear action instead: "Shift your weight to your back leg." "Relax your hand." "Walk slowly toward me." Take 2–3 shots after each cue.
Write 5 one-action cues in your phone notes before your next shoot.
Cramped portrait? Leave room where they look
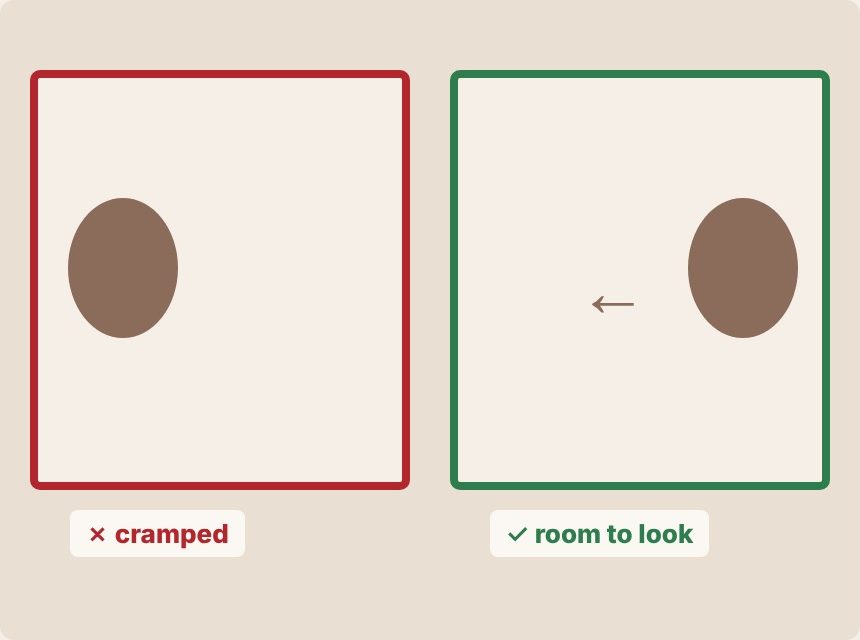
If a person looks or walks to the right, leave more space on the right. Without that space, the frame feels cramped, as if they're about to bump into the edge.
One pose, two crops: more space in front of the face, then more space behind the head. Which one feels calmer?
Don't press "delete" on the camera
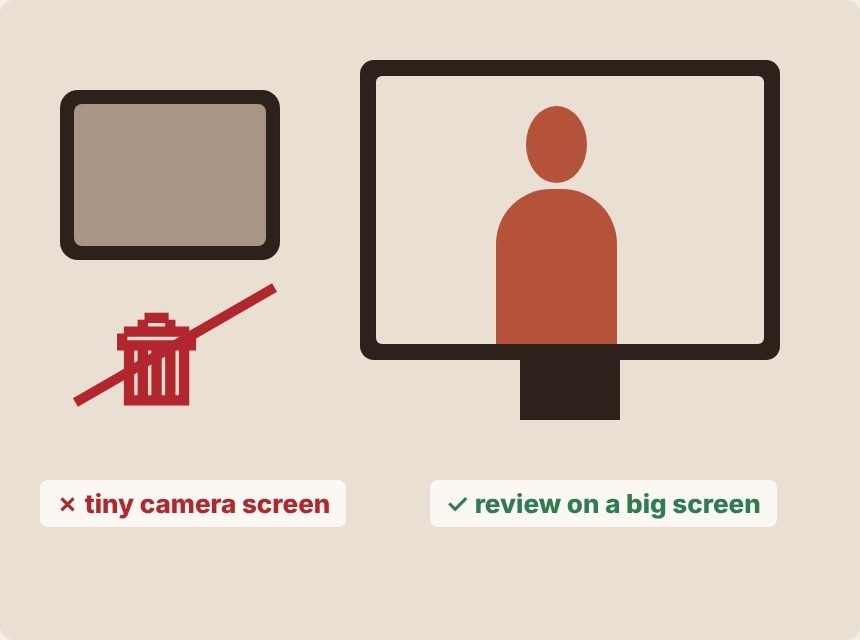
The camera screen is tiny: you can't really tell if a shot is bad or actually interesting. A "failed" shot can turn out to be the best one, or be saved with editing or cropping. Review everything on a big screen first.
Don't delete a single photo on your camera. Look at them all on your computer.
Want one tip like this every Friday?
Get the free camera cheat sheet and a new tip by email every Friday. No spam, unsubscribe anytime.